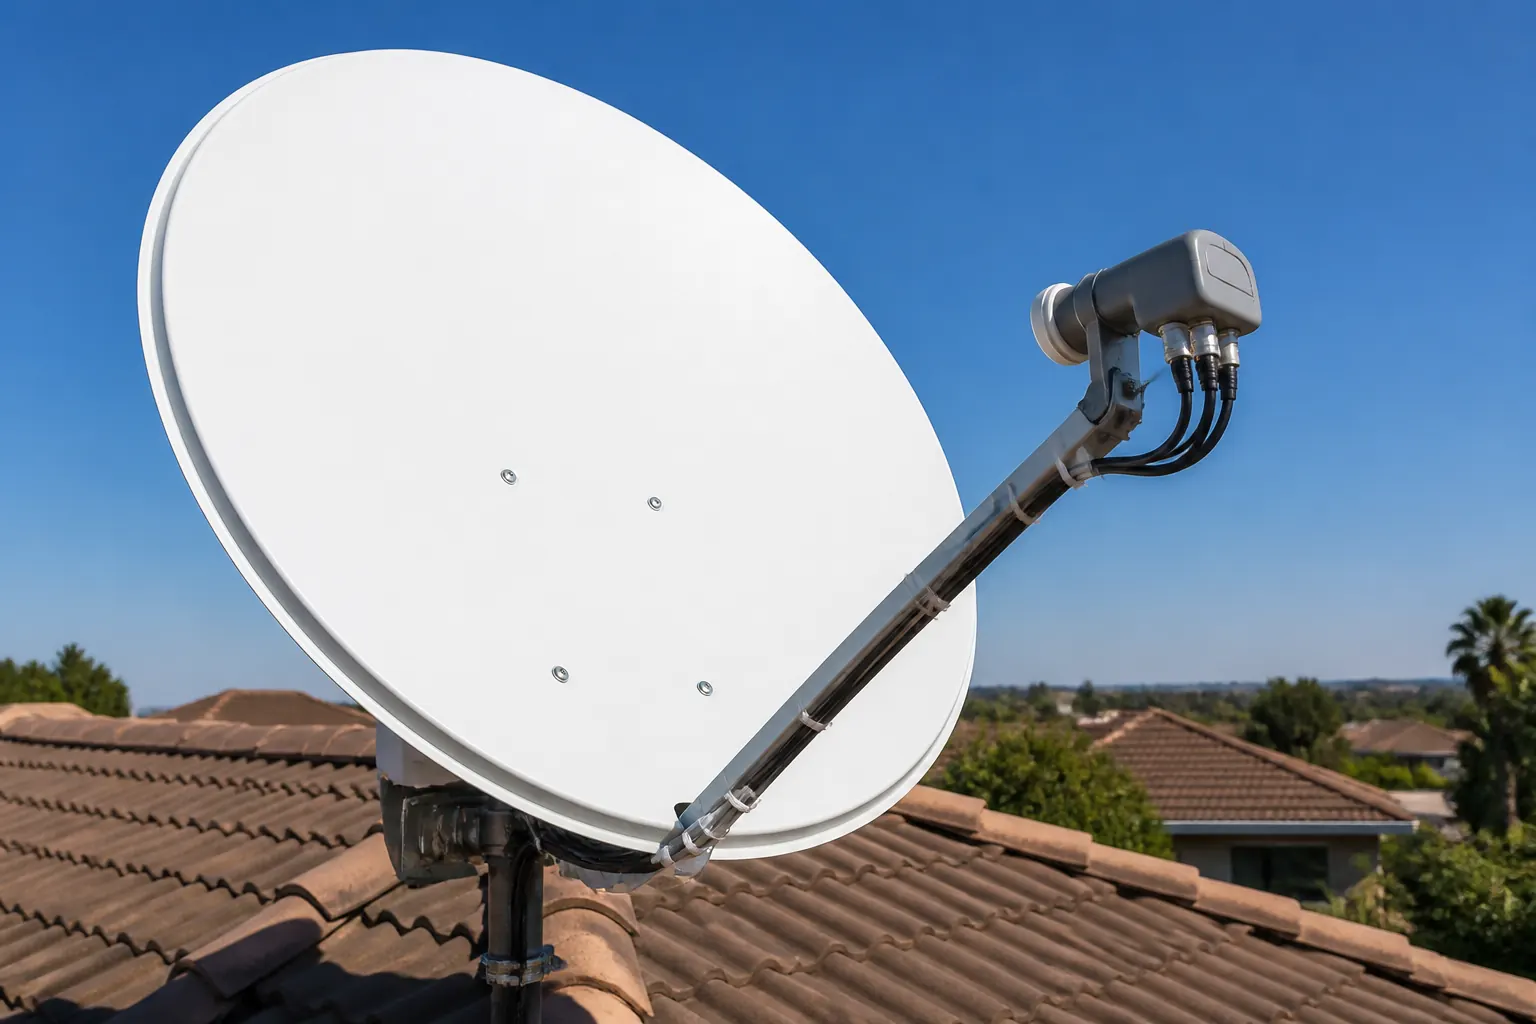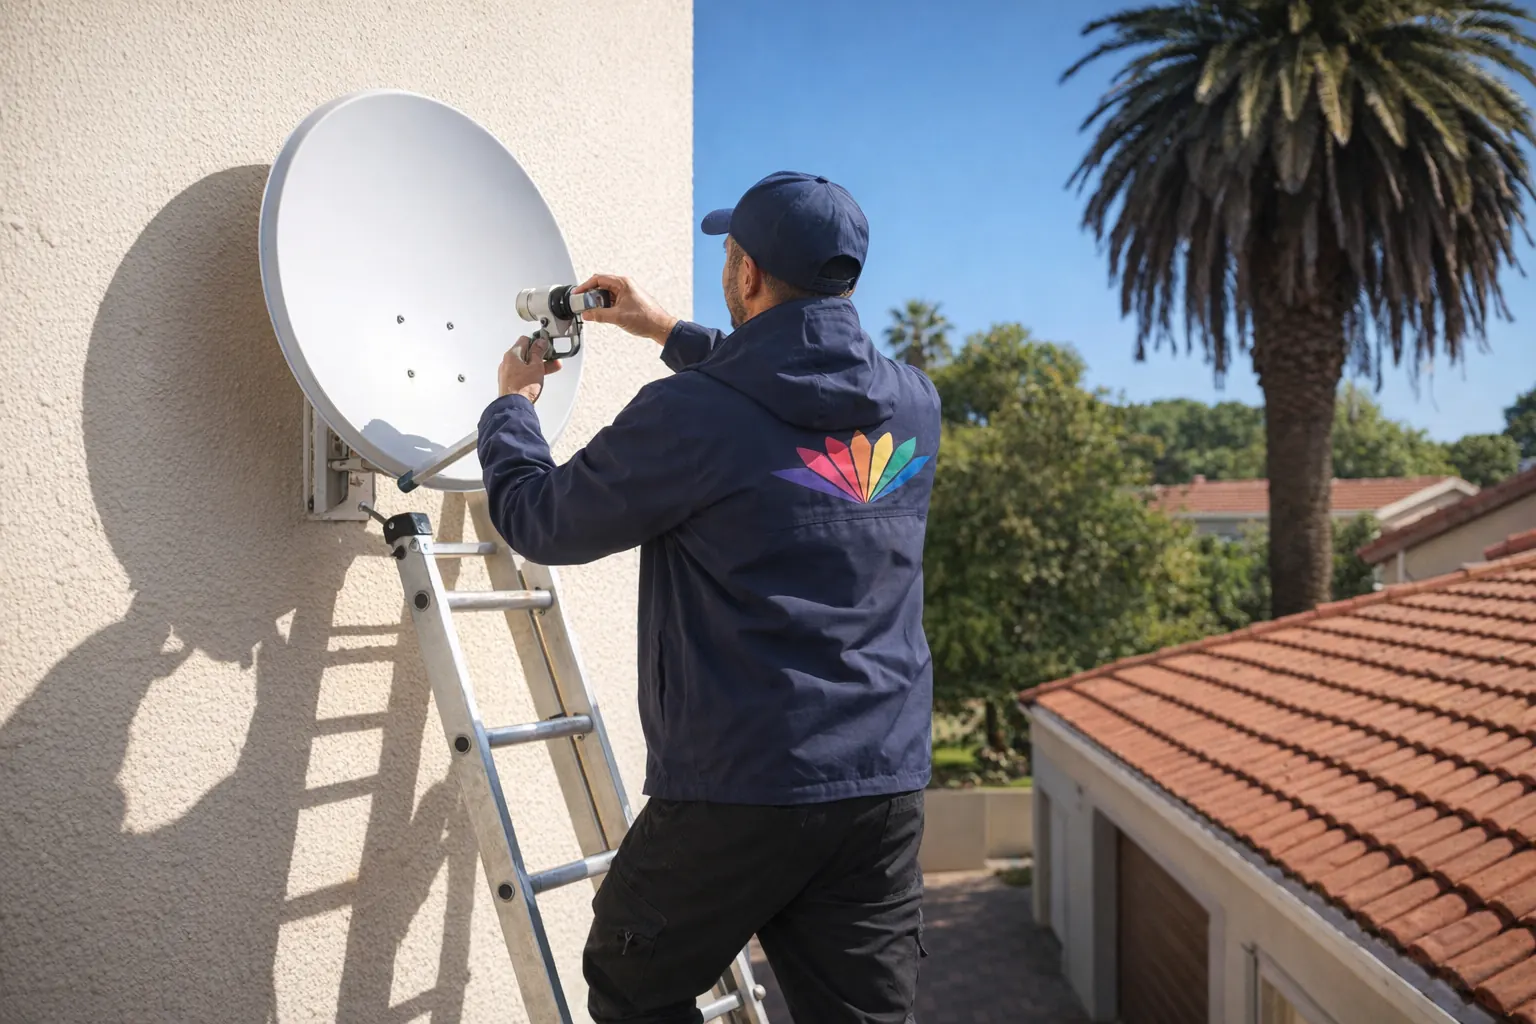
I get called out to fix DIY dish installs about as often as I get called to do fresh ones, and the pattern is nearly always the same: the first 80% went fine and the last 20% went badly. Bolting a DStv dish together, running the cable and setting the decoder up is within reach of anyone who owns a cordless drill. Getting the bracket solid, sealing a hole through a wall and peaking the signal from a pitched roof is where it becomes a real job. This guide runs the install in order and tells you honestly where your attempt is likely to stop.
- Every DStv dish in South Africa points at one satellite: Intelsat 20 (IS20) at 68.5° East, which is roughly north-east across the country.
- A current Explora install is an 80cm dish with a DStv Smart LNB. Older single-view setups run a standard universal LNB instead.
- Assembly, the cable run and the decoder setup are the easy parts. The bracket, the wall penetration and the alignment are the three that go wrong.
- If you can stand flat on the ground beside the dish, do it yourself and keep the money.
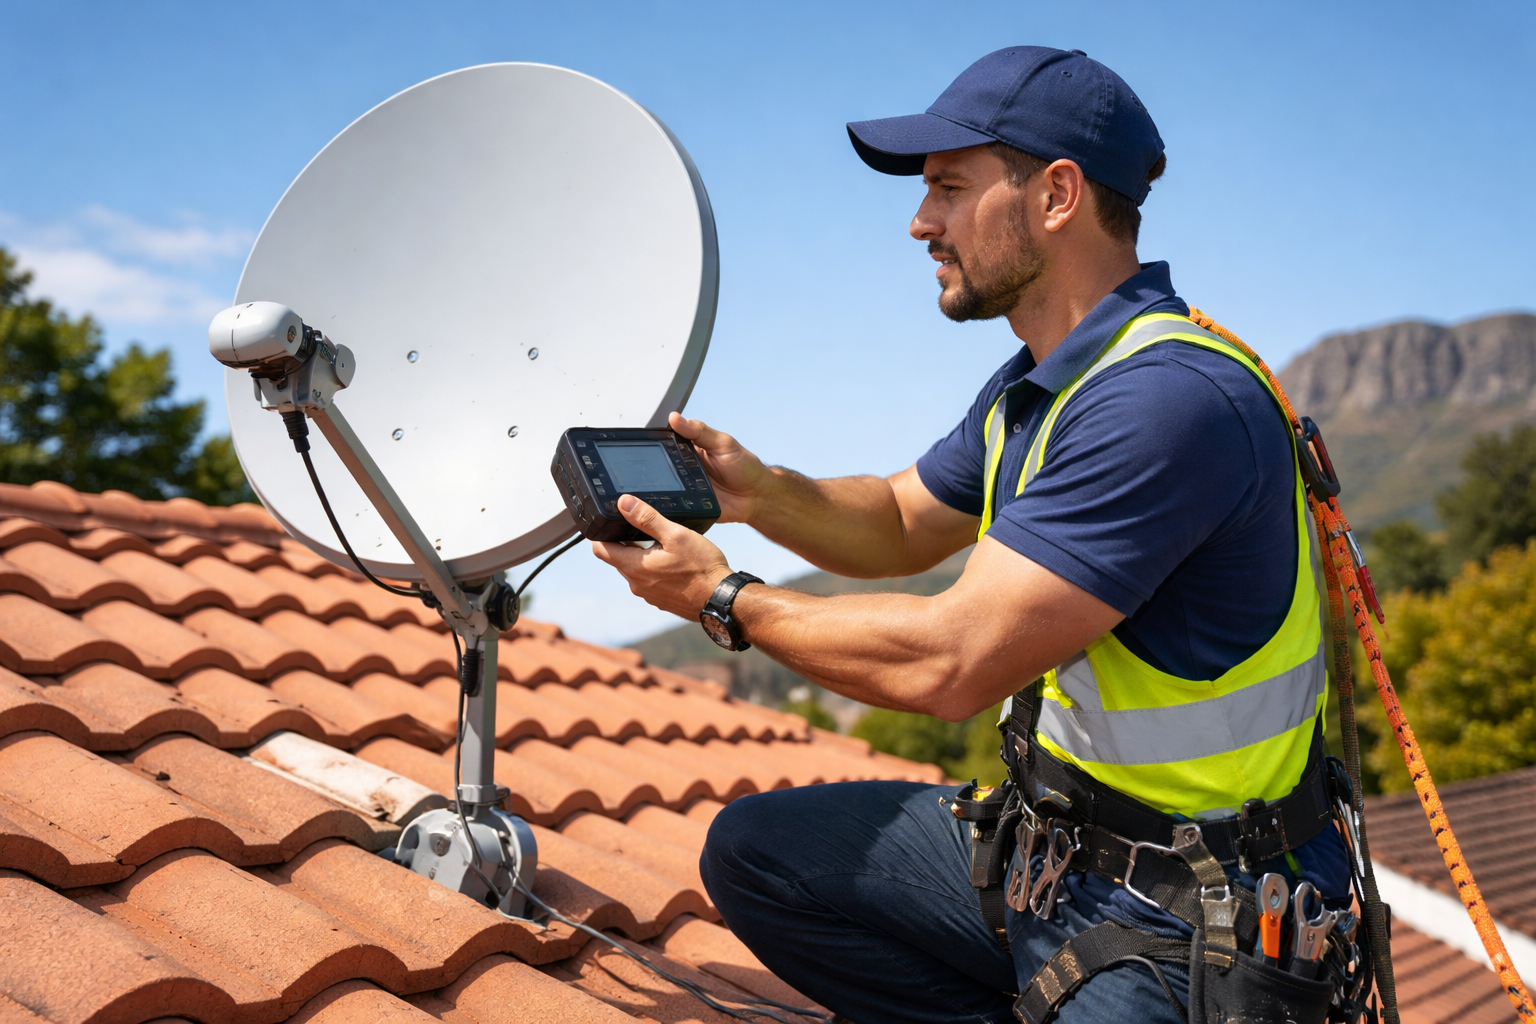
- If the dish has to live on a pitched tile roof or a double storey, stop there. That is a two-person job with a footed ladder and a harness.
Can you install a DStv dish yourself?
It depends far less on your skill than on where the dish has to go. I’d rather you finished a working install than paid me for a call-out you didn’t need, so here is the honest split:
| Where the dish goes | DIY? | Why |
|---|---|---|
| Ground-level pole or a boundary wall at standing height | Yes | Every bolt is reachable with both feet planted, so alignment is just patience |
| Single-storey side wall, reachable off a footed ladder | Usually | Fine with a helper, provided you can drill and seal properly |
| Pitched tile roof, or anything on a double storey | No | Both hands busy at height, and no way to read the signal from up there |
| Blocked line of sight (trees, a new neighbouring wall) | No | Needs a meter, and usually a re-site to find a spot that works |
Plenty of people finish this job in an afternoon, and the reason we get the call is almost always the roof. Work through the six steps below in order, because a dish on a wobbly bracket can never be properly aligned.
Kit and parts you need
Buy the dish and LNB as a kit if you can, because the arm, the holder and the bracket all have to match. The rest is standard hardware from any decent satellite supplier.
| Item | What to get |
|---|---|
| Dish | 80cm. DStv recommends 80cm for Explora installs, and for a single-view decoder |
| LNB | A DStv Smart LNB for an Explora or most XtraView setups. A single universal LNB suits one older HD decoder |
| Cable | RG6 coax, 75 ohm, solid copper centre conductor, UV-resistant jacket. Copper-clad steel loses more signal |
| Connectors | Compression F-connectors, not screw-on. The cheapest upgrade you can make |
| Bracket | A wall or pole bracket rated for your dish, with masonry anchors to suit the wall |
| Tools | Spanners for your bracket bolts, side cutters, coax stripper, compression tool, cordless drill with masonry bit, spirit level |
| Aiming | A phone with a satellite finder app, plus the decoder on screen to read the signal |
| Safety | A stable ladder and a second person to foot it. Not optional |
Do not cheap out on the coax. Thin copper-clad cable and screw-on connectors account for more failed DIY installs than anything else I pull out. The dish can be perfectly aimed and the picture will still break up in the first hard rain. Price the whole job first, because our breakdown of DStv installation costs in South Africa shows how small the gap can be once you’ve paid for tools you don’t own.
Step 1: Find a spot with a clear view of 68.5°E
Every DStv dish in the country aims at Intelsat 20, parked at 68.5° East, so it always faces roughly north-east. Before you drill a hole, stand where you intend to mount the dish, open a satellite finder app and look along the line it shows you. A tree, a gable or a neighbour’s new boundary wall in that line kills the signal no matter how well you aim.
Two other things decide the spot: keep the cable run short, and pick something structurally solid such as a load-bearing brick wall, a pole set in concrete, or a sound chimney. Never mount a dish on a gutter, a fascia board or a fence panel. Our page on professional satellite dish installation covers the mounting options if you’re weighing a wall against a pole.
Step 2: Fix the bracket dead plumb
This is the step that quietly ruins DIY installs. The bracket mast has to be genuinely plumb, checked with a spirit level in two directions, because the dish’s whole elevation scale measures from it. If the mast leans two degrees, every angle you set afterwards is out by two, and you’ll spend an hour hunting a signal that was never going to lock.
Drill your holes, blow out the dust, fit the anchors and pull the bolts tight. Then push and pull the mast hard. If there is any movement at all, take the bracket off and refit it somewhere better. Wind will find that movement within a month.
The cable hole has to angle slightly downward from the inside out, and be sealed on the outside so water can’t track back along the cable. Drilled level or uphill, it will run water into your ceiling, and you often won’t discover it until the next heavy storm. If you aren’t confident sealing a penetration on a plastered wall, that alone is reason to hand the job over.
Step 3: Assemble the dish and fit the LNB
The dish itself is flat-pack work. Follow the sheet in the box, keep every bolt finger-tight until it is all together, then torque it down. The part worth slowing down for is the LNB.
The LNB clips into the holder at the end of the arm, facing back at the centre of the dish. Two things matter: it must be seated fully home, and rotated to the correct skew angle. Skew is the twist of the LNB in its clamp, and your satellite finder app gives you that figure along with azimuth and elevation. Wrong skew is a classic reason a dish reads a signal but never a good one.
A Smart LNB does the job of a separate DStv switch, so several decoders feed off one cable using assigned user bands. An older universal LNB with single, twin or quad outputs runs one cable per decoder instead.
Step 4: Run and terminate the cable
Run the RG6 from the LNB down to the decoder, clipping it to the wall every metre or so rather than leaving it swinging. Leave a drip loop below the LNB, a small downward curve before the cable rises to the connector, so rainwater runs off it instead of into the LNB body.
Strip the coax cleanly: braid folded back, foil intact, centre conductor straight and just long enough to reach through the connector. Slide on a compression F-connector and crimp it with the proper tool. A sloppy termination is invisible from outside and causes intermittent faults for years.
Step 5: Aim the dish and peak the signal
Get your three numbers first. A satellite finder app on your phone will read your GPS position and hand you the azimuth, elevation and skew for IS20 from where you’re standing, and the free satsig dish-pointing calculator will confirm the same three figures if you’d rather type in coordinates.
Then work in that order. Set elevation on the bracket scale and nip it up. Loosen the mast clamp and swing the dish slowly through the azimuth bearing, pausing every centimetre or two, because the satellite is a narrow target and moving fast takes you straight past it. Set the skew. Once you have any signal at all, tighten everything just enough to hold position and peak it in millimetre nudges.
You do not need to buy a meter for this. Your decoder’s own signal screen works fine, and our guide to checking signal strength on a DStv decoder shows where to find it on each model. Aim for strength and quality both comfortably above 80%, which leaves headroom for wind and rain. The catch, and the reason installers carry meters, is that someone has to watch the TV while someone else moves the dish. Doing that alone from a roof is not realistic. The full method is in our step-by-step dish alignment walkthrough.
Step 6: Set the decoder up for the LNB you fitted
The last stage is in software. In the decoder’s installation or dish setup menu you tell it what hardware is out there. For a standard single, twin or quad LNB, select the universal setting. For a Smart LNB, select that and assign each decoder its own user band so two decoders never fight over the same frequency slot. Then run a signal scan and let it pull the channel list down. Activating the decoder and smartcard is separate, and you do that yourself either way.
Where DIY dish installs actually go wrong
These are the faults I find most often at a self-install that isn’t working. Most take ten minutes once you know what you’re looking at.
| Symptom | Usual cause |
|---|---|
| Signal locks, then drops in wind | Bracket not solid, or bolts never fully torqued after peaking |
| Strength good, quality poor | Skew off, or the dish is peaked on the edge of the beam rather than centre |
| Picture breaks up in rain | Too little signal margin, thin coax, or water in a screw-on connector |
| No signal after a careful aim | Something in the sightline to 68.5°E, or the LNB isn’t seated |
| An E48-32 error on screen | The decoder isn’t seeing the dish. Our E48-32 no-signal troubleshooting guide works through it in order |
| Damp patch on a ceiling months later | The cable penetration was drilled level and never sealed |
When to stop and call someone
None of this is meant to frighten you off. Every one is a real reason, and if none apply to your house, finish the job yourself with my blessing.
- Height and pitch. Tiles are slippery and crack under a knee, and you need both hands for the dish. Working at height alone, with nobody footing the ladder, is the one thing I’d ask you not to do.
- No second pair of hands. Peaking a signal needs one person on the dish and one watching the screen. Without a meter and without a helper, you are guessing.
- No meter on a marginal site. If the sightline is tight, or the reading simply won’t climb into the 80s however carefully you nudge, a meter settles in minutes whether the spot is workable or the dish has to move.
- Wall penetrations you’re unsure of. A leak that shows up in a ceiling months later costs more to repair than the install saved.
- No workmanship guarantee. Anything you drill and seal is yours to maintain. Work we do is guaranteed, and if the signal drops you phone us instead of climbing back up.
- A decoder that may be faulty. If it won’t boot or keeps freezing, no amount of dish work fixes it. Rule that out before you touch the dish.
Our minimum call-out fee is R550, and the team covering DStv installation in Roodepoort and the rest of Gauteng does dish mounts and re-aligns every day with proper meters and harnesses. If you get halfway through and the roof turns out to be the problem, call 077 454 4032 and we’ll finish what you started.
Frequently Asked Questions
Can I install DStv myself?
Yes, if the dish can go somewhere you can reach with both feet on the ground or off a footed ladder. Assembling the dish, running the coax and setting the decoder up are straightforward. What defeats most people is getting the bracket dead plumb, sealing the cable penetration, and peaking the signal from a roof without a helper.
Do I need an accredited installer for DStv?
Nothing about your subscription depends on who mounted the dish, since you activate the decoder and smartcard yourself either way. What an installer adds is a workmanship guarantee on the mount, seal and alignment, a meter that removes the guesswork, and someone to phone when the picture goes.
What size dish do I need for DStv Explora?
An 80cm dish. DStv recommends 80cm for Explora installs, and it is also the recommended size for a single-view decoder. A bigger dish gives more margin in bad weather, but 80cm is the South African standard and what installers fit as a matter of course.
Which LNB do I need for a DStv Explora?
A DStv Smart LNB. MultiChoice recommends it for all Explora and most XtraView installations in a single dwelling, because it replaces the separate DStv switch and feeds several decoders down one cable using assigned user bands. A single universal LNB is still fine for one older HD decoder.
How do I aim a DStv dish without a signal meter?
Use a satellite finder app to get the azimuth, elevation and LNB skew for Intelsat 20 at 68.5°E at your position, set those three angles in that order, then watch the live signal on your decoder while you nudge the dish. Aim for strength and quality above 80%, with a second person on the screen.
What cable do I use for a DStv dish?
RG6 coax with 75 ohm impedance, a solid copper centre conductor and a UV-resistant jacket, terminated with compression F-connectors. Avoid copper-clad steel cable and screw-on connectors. They cost less up front and cause most of the intermittent signal faults I get called out to.
How much does it cost to get a dish installed instead?
Our minimum call-out fee is R550, which covers the visit and the diagnosis. The final figure depends on the hardware you already have and how awkward the mounting position is, because a ground-level pole and a double-storey roof are not the same job. Phone 077 454 4032 for a figure on your setup.
Need Professional DSTV Installation?
Our accredited installers offer same-day service across South Africa.